If this is your first visit, be sure to
check out the FAQ by clicking the
link above. You may have to register
before you can post: click the register link above to proceed. Registration to this Forum is open to Members of The Stag Owners Club (SOC) and Affiliated Overseas Clubs. Non members with an interest in the Triumph Stag may avail of a 30 day trial membership of the Forum. Details in the FAQ section. Registration is not necessary if you just wish to view the forums. To start viewing messages,
select the forum that you want to visit from the selection below.
Mike.
It is inevitable that if you just do the one seat, it will not be a perfect match with the passenger side, as the exact original material is no longer available. Replacing the ripped panel may be a better alternative.
Mike.
I replaced the front seat vinyl covers & foams on my stag a few decades ago.
The cost then was about �300.
Since then the costs have risen.
… maybe 4 fold? For diy.
The price to do one squab now isn’t that bad imho….
one cover & Foam is about �300 now isn’t it?
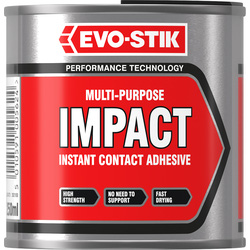
• High strength• Multi purpose• No need for clamping or support• Bonds most materials• Interior and exterior useHigh strength adhesive that bonds on contact. No need for clamping or special support while the adhesive sets. Multi-purpose - the ideal adhesive for emergency repairs. Fast drying and low...
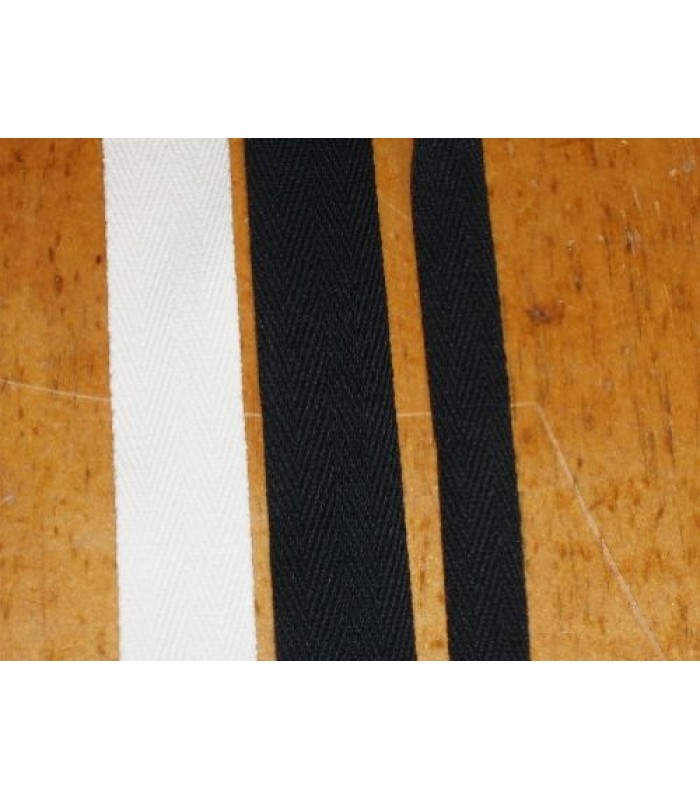
When tacky, after about 5 minutes, place the re-enforcing tape along the length of the split, while holding the split together of course. Leave to dry completely for an hour or two. Press together again to make sure it has really stuck. It will pull apart slightly when under tension, but a bit of black marker will do a lot to hide the small crack!
That is what I did on my passenger side seat which is still on the original 48 year old vinyl.
Reach out to someone who has a LHD stag and see if they changed their seats. my passengers side seat in my LHD is still in great shape, but drivers seat is well worn and torn.
• High strength• Multi purpose• No need for clamping or support• Bonds most materials• Interior and exterior useHigh strength adhesive that bonds on contact. No need for clamping or special support while the adhesive sets. Multi-purpose - the ideal adhesive for emergency repairs. Fast drying and low...
When tacky, after about 5 minutes, place the re-enforcing tape along the length of the split, while holding the split together of course. Leave to dry completely for an hour or two. Press together again to make sure it has really stuck. It will pull apart slightly when under tension, but a bit of black marker will do a lot to hide the small crack!
That is what I did on my passenger side seat which is still on the original 48 year old vinyl.
Mike
Like the sound of this for my back seat which split along one of the seams - the 2 fronts are beyond help, both have been repaired over 10 times each with black vinyl tape.
Plan over winter is to install some Audi TT leather seats I bought - heated and head-rests - luxury.
(I though I saw someone manage to install the TT rear seat but can't find the link)
Comment