I am just doing a diff rebuild on my spare diff, the one in the car is OK-ish but I'm bored.. My first go at this so here goes.
First issue was pulling the bearings, there is little room there to get a conventional puller and knowing that I will probably need to pull them multiple times I investigated pullers and came up with a "clamshell" puller. It cost $80 and so far well worth the money. It pulls the bearing by clamping it in a shell and pulling on the cage against the race/cup. works a treat, but I had to get the carrier spacer "rod" turned down to 26mm to go inside the carrier but the smallest yellow "clamshell" fits the bearings fine.
Before I did the pinion I assembled the carrier with no shims and measured the play. I found that very difficult with a dial gauge so used feelers and came up with a base value of 57 thou with pre-load, (less than the original 69 thou..)
I found that the shims behind the bearing for the pinion height don't seem to be available, they seem to supply shims for the race.. so took a punt and just reinstalled the original. The preload took 4 attempts as the original preload shims (its a shim type!) were worn out and I think one was squished into nothing so had a guess and sneaked up to it with all new shims.
Once that was in I reinstalled the carrier with no shims and measured the play with the pinion in, came up with 31thou which was the same as before. then installed the shims both sides 31, and 26 and it was obvious that there was no preload, a check with a feeler showed about 2 thou clearance and a quick backlash check looked good so inserted an extra 5 thou on the other side, giving 31 and 31, this time it gave a bit of resistance when inserting so hopefully that's OK now. Backlash was 5 thou, bang in spec.
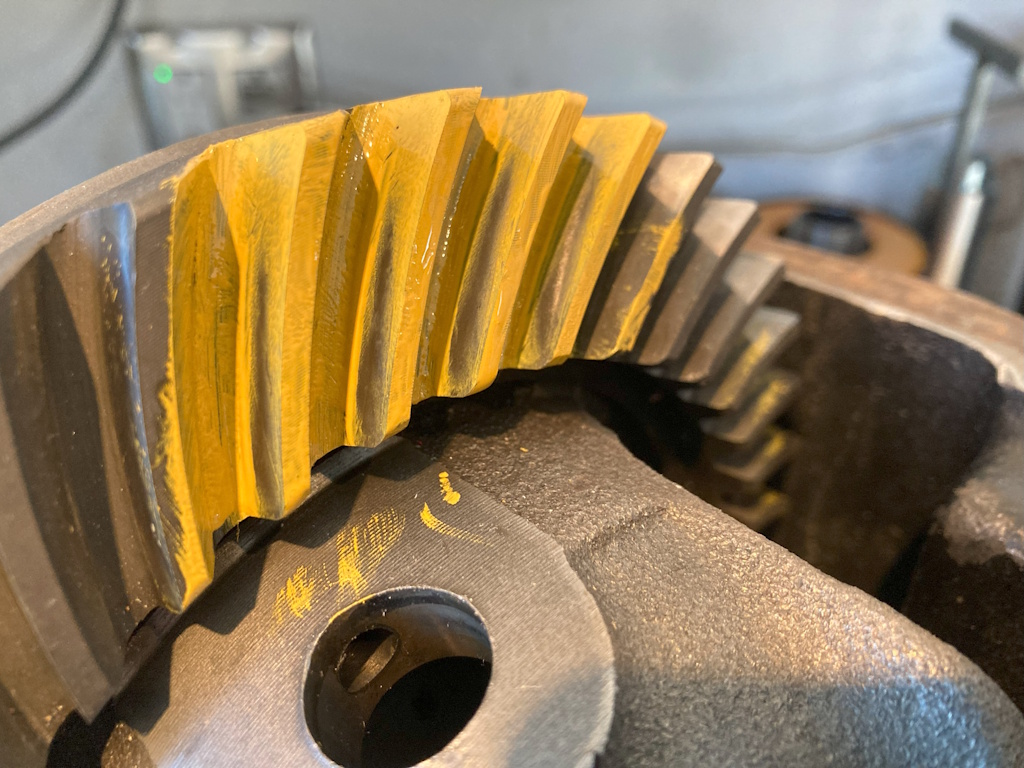
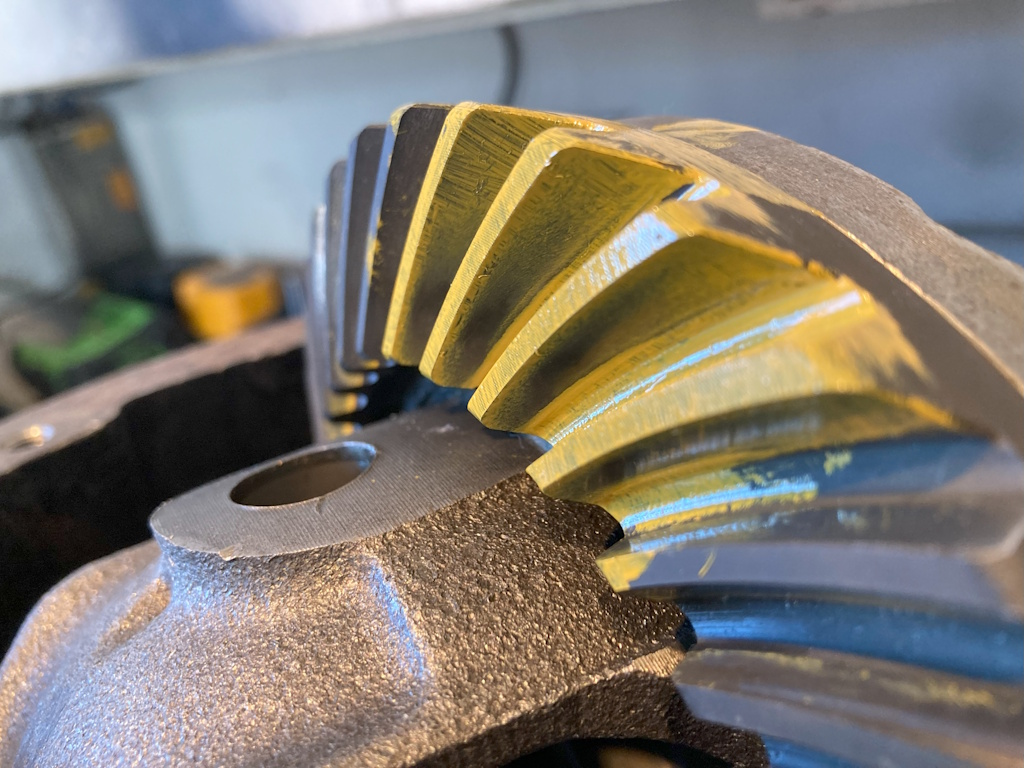
Ready to check the gears.. I thought this video is pretty good at explaining it, Note the tip to put drag on the carrier.
So far I have pulled the bearings 7 times!
Terry
First issue was pulling the bearings, there is little room there to get a conventional puller and knowing that I will probably need to pull them multiple times I investigated pullers and came up with a "clamshell" puller. It cost $80 and so far well worth the money. It pulls the bearing by clamping it in a shell and pulling on the cage against the race/cup. works a treat, but I had to get the carrier spacer "rod" turned down to 26mm to go inside the carrier but the smallest yellow "clamshell" fits the bearings fine.

Before I did the pinion I assembled the carrier with no shims and measured the play. I found that very difficult with a dial gauge so used feelers and came up with a base value of 57 thou with pre-load, (less than the original 69 thou..)
I found that the shims behind the bearing for the pinion height don't seem to be available, they seem to supply shims for the race.. so took a punt and just reinstalled the original. The preload took 4 attempts as the original preload shims (its a shim type!) were worn out and I think one was squished into nothing so had a guess and sneaked up to it with all new shims.
Once that was in I reinstalled the carrier with no shims and measured the play with the pinion in, came up with 31thou which was the same as before. then installed the shims both sides 31, and 26 and it was obvious that there was no preload, a check with a feeler showed about 2 thou clearance and a quick backlash check looked good so inserted an extra 5 thou on the other side, giving 31 and 31, this time it gave a bit of resistance when inserting so hopefully that's OK now. Backlash was 5 thou, bang in spec.
Ready to check the gears.. I thought this video is pretty good at explaining it, Note the tip to put drag on the carrier.
So far I have pulled the bearings 7 times!
Terry

Comment